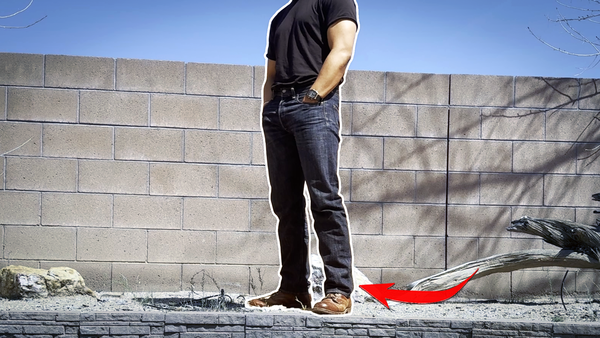
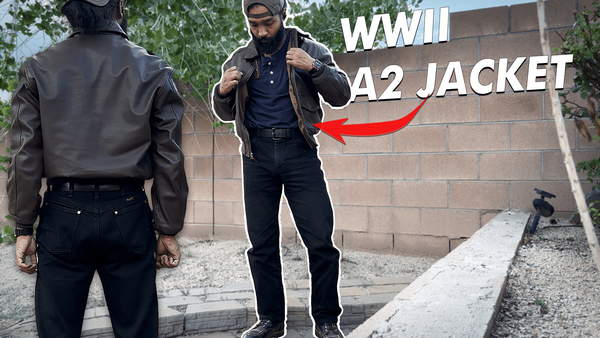
How to cut patches off your A2 & military leather jackets — and fill in the stitch holes
For those that want to de-customize their leather jackets, here's how you can fill in the holes left over by removing patches.


A lot of us buy jackets, whether pre-owned or like-new, from eBay because you can pick something up that's high quality without breaking the bank.
But a lot of the time, when you bargain hunt like that, you might also make sacrifices: the jacket you want most has everything you want, but also more: a patch, say from a squadron you don't have an affiliation with, or on more modern A2 leather jackets, the VELCRO® (hook and loop) patches stitched on the chest for name tags and command shields.
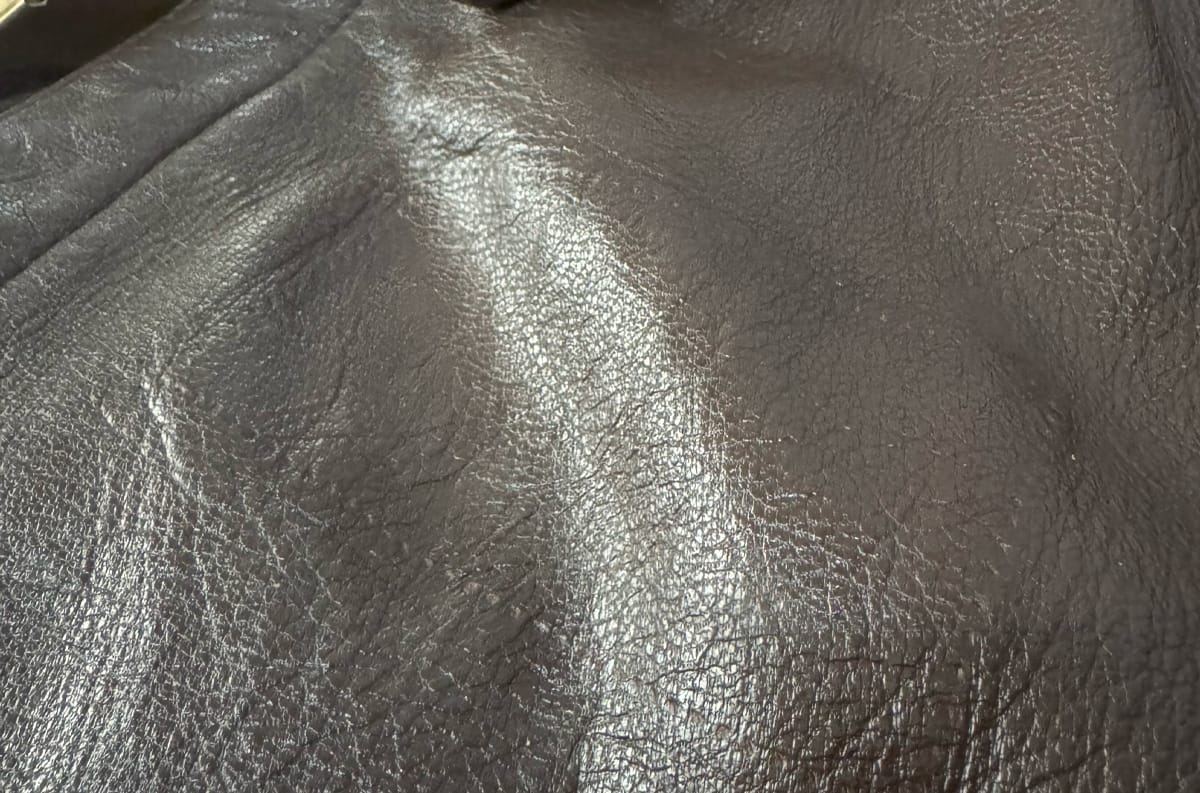
Removing these patches will always reveal the unsightly stitch holes in the leather from having been sewed through. From a distance you can hardly see the holes, but they look don't look great when you do see them.
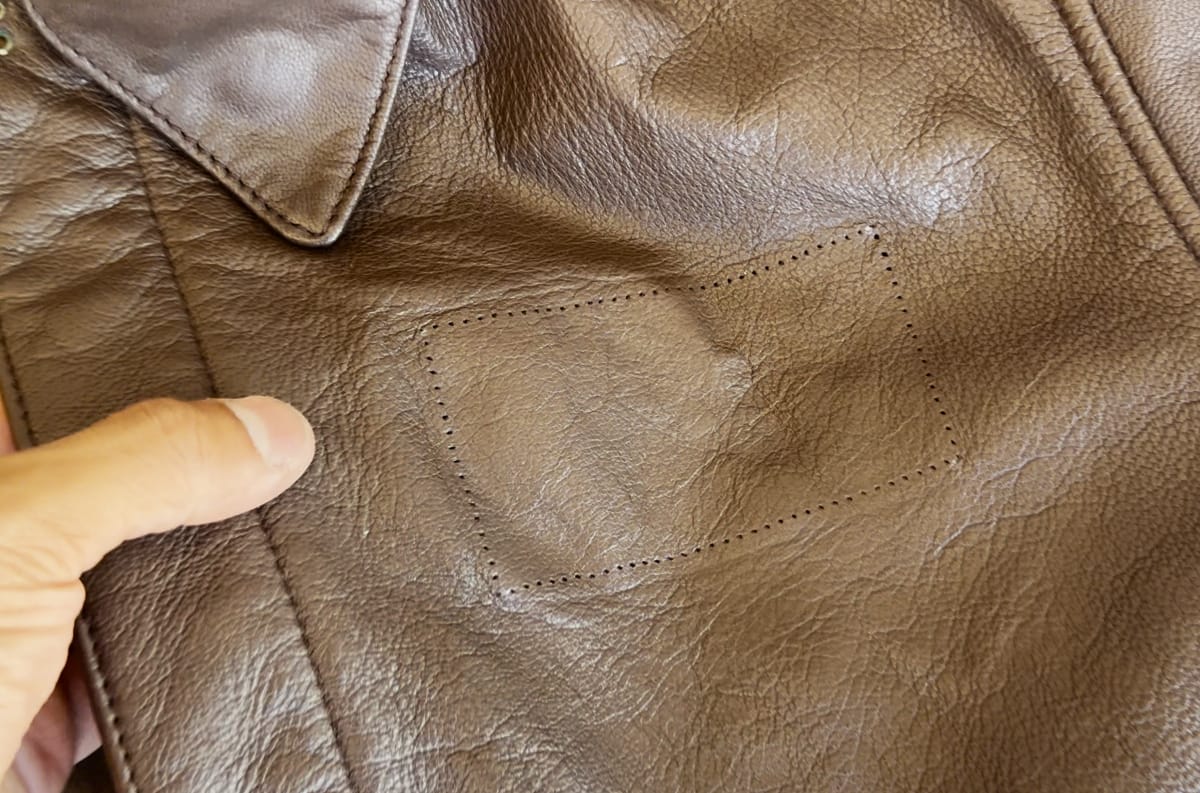
There's not much you can do to completely make the holes disappear (unless you're really good at this, but you likely wouldn't be reading this article). However, you can mute how the holes look by a lot.
My biggest reason for doing this, personally: to not have holes in my leather jacket.
Step by step: how to fill holes in leather
Today, you'll learn how to remove a patch off a leather jacket and fill the holes in, preventing water ingress and while making the jacket look a heck of a lot nicer.
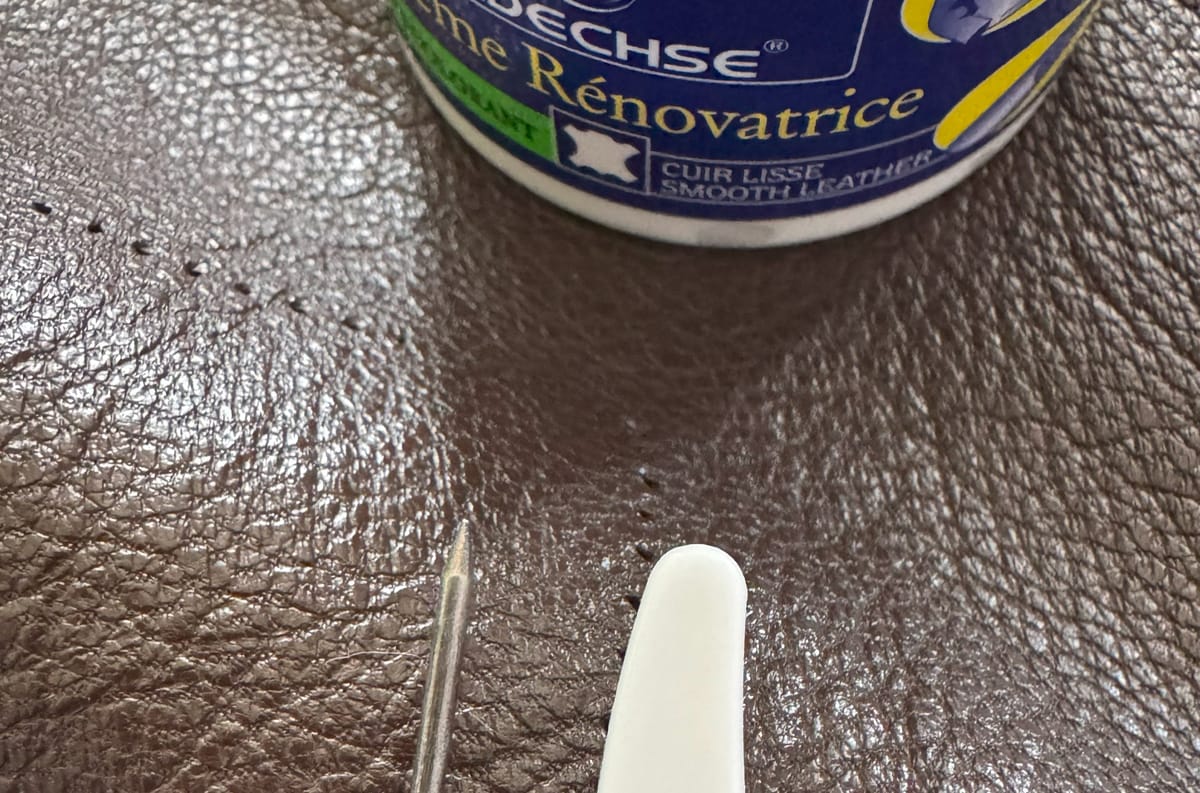
Things you'll need:
- Your jacket with patch(es) on it
- A seam ripper and/or small, curved scissors
- Leather repair paste (filler)
- Leather dye or leather paint
- Cotton cloth or rags
Whether you choose dye or paint depends on the texture of your leather jacket. Most traditional A2 or G1 jackets in goatskin have surfaces that acrylic paint is suitable for. If you have a more aniline-finished jacket, dye is likely the better option.
With that said, my personal jacket is a brown goatskin A2 and I used dark brown Fiebing's Leather Dye because it's what I already had beforehand.
Step 1: remove the patches
Fairly simple. Just be careful not to stab your leather with the tip of the seam ripper or scissors. Take your time, and don't tug on the patch to get at more stitches.
Tugging will make the holes you're filling in BIGGER. You want the holes to be as small as possible, and also try not to tear the leather by getting aggressive with the patch.
Take your time and cut each stitch one by one from the best angle you can get them at.
Step 2: clean the area
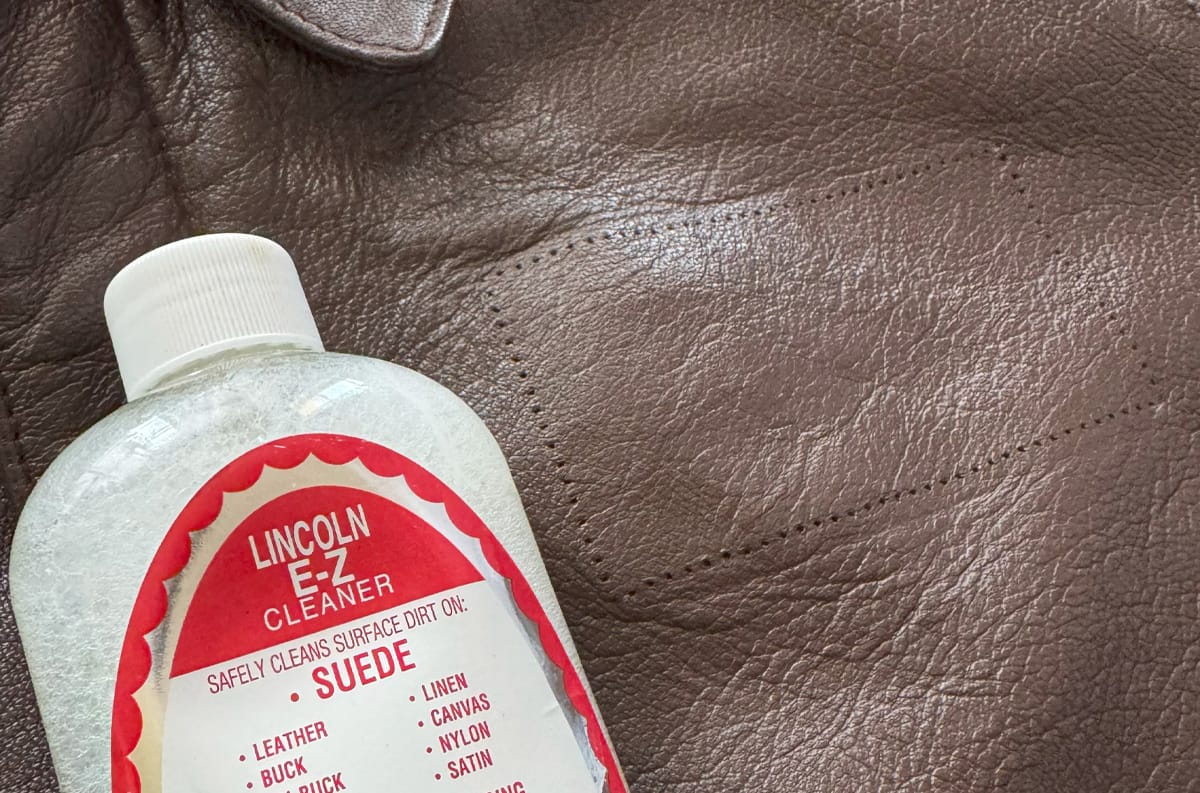
Since there's likely to be oils and waxes on a leather jacket, try to clean it off around the area that surrounds the stitch holes. Wipe it down and continue on.
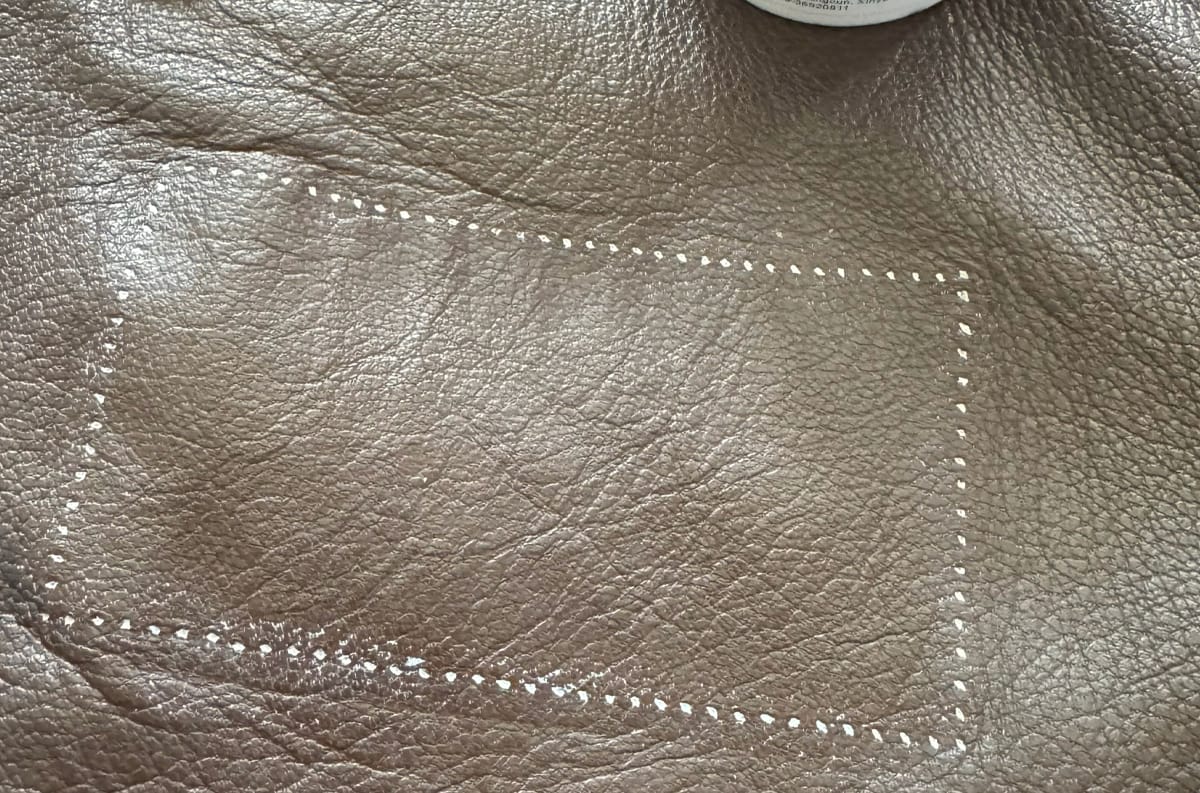
Step 3: start filling the holes
Straight-forward process. I didn't really need the metal pick, but I used it along with the plastic spreading tool.
- Grab some of the filler, press it gently into the holes
- Spread and press the filler deeper in with the plastic tool
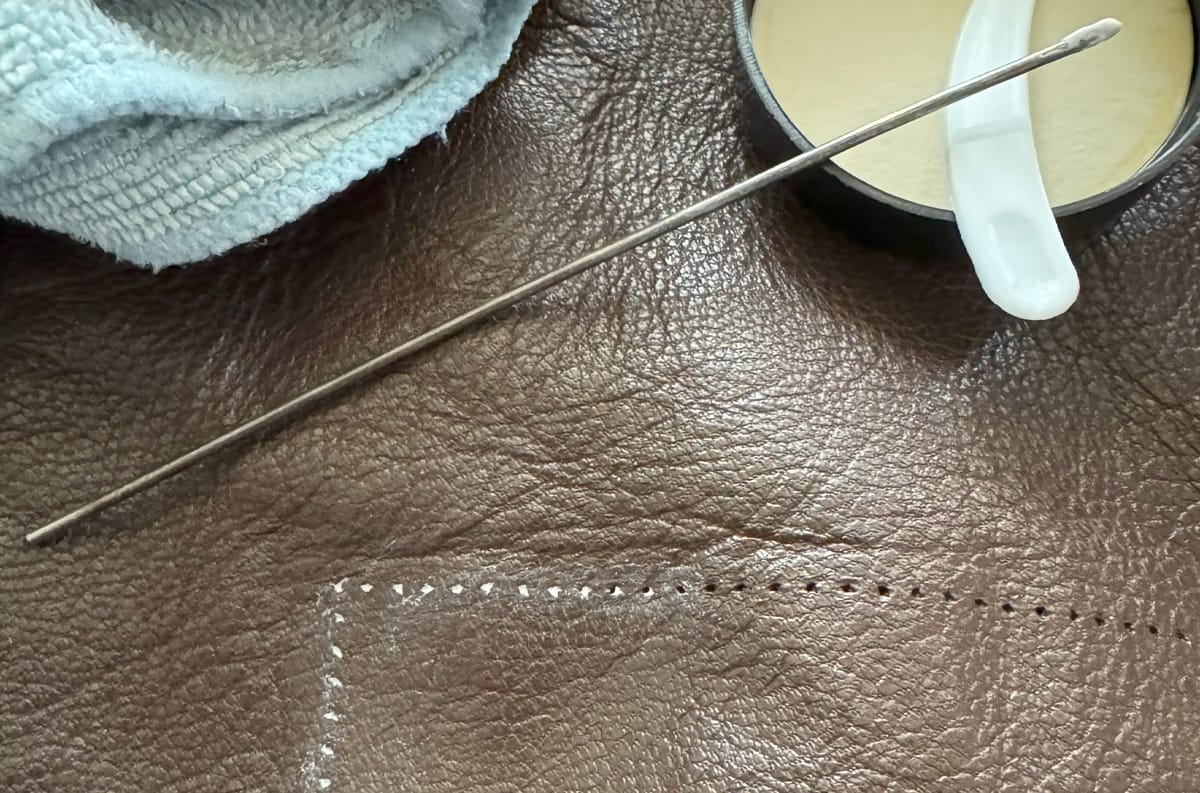
You're trying to fill the holes in, so be sure you're pressing enough leather paste into each hole. You'll get plenty of the white gunk of the leather filler around the holes — wipe as you go, and use a dab of water to help remove it.
Step 4: dye or paint
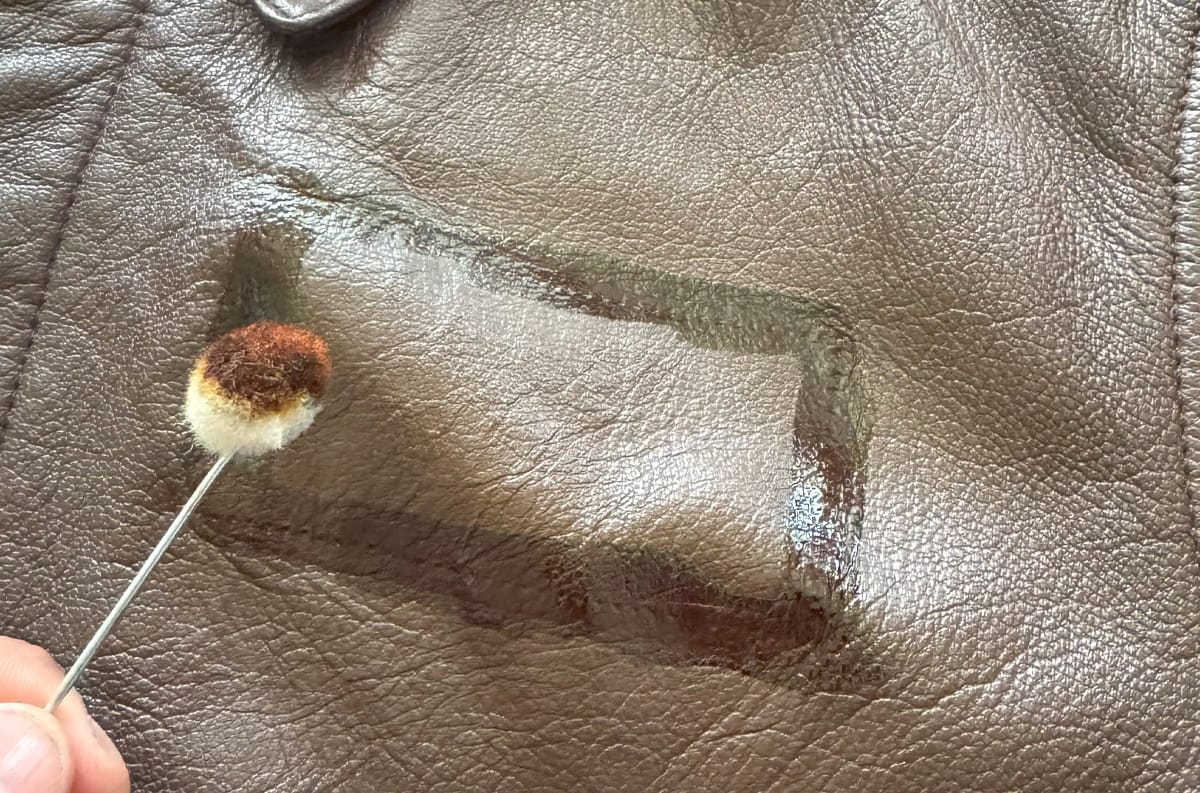
It's definitely the hardest part, especially if you're using an alcohol based dye like this. Try to feather the dye so that it doesn't look too off-colored in one condensed spot.
Have plenty of rags on hand to rub dye away, and something like a low percentage isopropyl alcohol wouldn't hurt to have on hand. This will allow you to remove dye much easier. I overdyed mine a bit and had to go over it with acetone to remove the excess; avoid overdyeing, especially if your jacket has a more delicate, aniline finish.
Step 5: probably rubbing dye off
But after this you're done, I promise. If you're more patient than I was, and maybe less courageous, then you might be able to skip this step altogether. Those that paint the filler would probably be well off if done accurately.
Heck yeah!👉

And that's really all there is to it. It can be time consuming, so be prepared for that, especially if you're removing multiple patches off your leather jacket or vest.
You can do an even cleaner job if you're willing (and able) to fill the holes beyond their punctures and then sand the filler back down. This would require knowing how to dye the leather you have even more so, however, and the sanding would also take a little bit of skill.
Whatever you choose to do, do it well. Or have a leather repair shop fix it.